
So! Last night I was working on bridesmaid bouquets. Our "theme" per se, is burlap and lace. We have a lot of rustic decor such as old skeleton keys, mason jars and burlap out the you-know-what. My bouquet is from a tutorial I found on Pinterest. The bridesmaid bouquets I made as I went. I had an idea of what I wanted and went with it. I took a lot of pictures to share so check it out!
DIY Nosegay Bridesmaid Bouquet

Supplies
- Two hydrangea stems (I got mine at Michaels)
- Floral tape
- Scotch tape
- Muslin
- Burlap
- Twine
- Buttons
- Hot glue gun
- Wire cutters
- Pliers
-Ruler
I started by stripping the hydrangeas of the leaves and extra protruding stems. These can get in the way. Next, secure the hydrangea stems together. I used Ashland floral stems because they were a better quality. These were the same ones I used for my bouquet as well.

The kind that I chose have a slight bend in the stem. This was an easy fix.

Simply use your pliers and bend the stem strait. There's wire inside that allows you to do this. If you don't fix the bend, your stems won't fit easily together.

After I fixed the big bend in the stem, I created a smaller one close to the head of the flower. This helps create the round look of the bouquet. When you put both of your stems together, they should form a round dome. If there are open spots, move the blooms around to fill them in.
Next, I wanted to secure my stems together. A little scotch tape did the trick. This made it easier to wrap the stems in floral tape because it helped them stay together.

Wrap your stems in floral tape. Next, you should figure out how long you want your bouquet. Ideally, you should be able to comfortably place both hands on the bouquet. My stems were about 8 inches long from the head of the flower.

My next step was to add more stems to the bouquet. This helped give it a bigger, more solid feel. Using the part of the stems that I cut from my flowers, I cut them to 8 inches and secured them with more floral tape.


After you're happy with the feel of your nosegay bouquet, it's time to decorate it. I used some extra muslin I had to wrap the stem. I secured the muslin with hot glue.
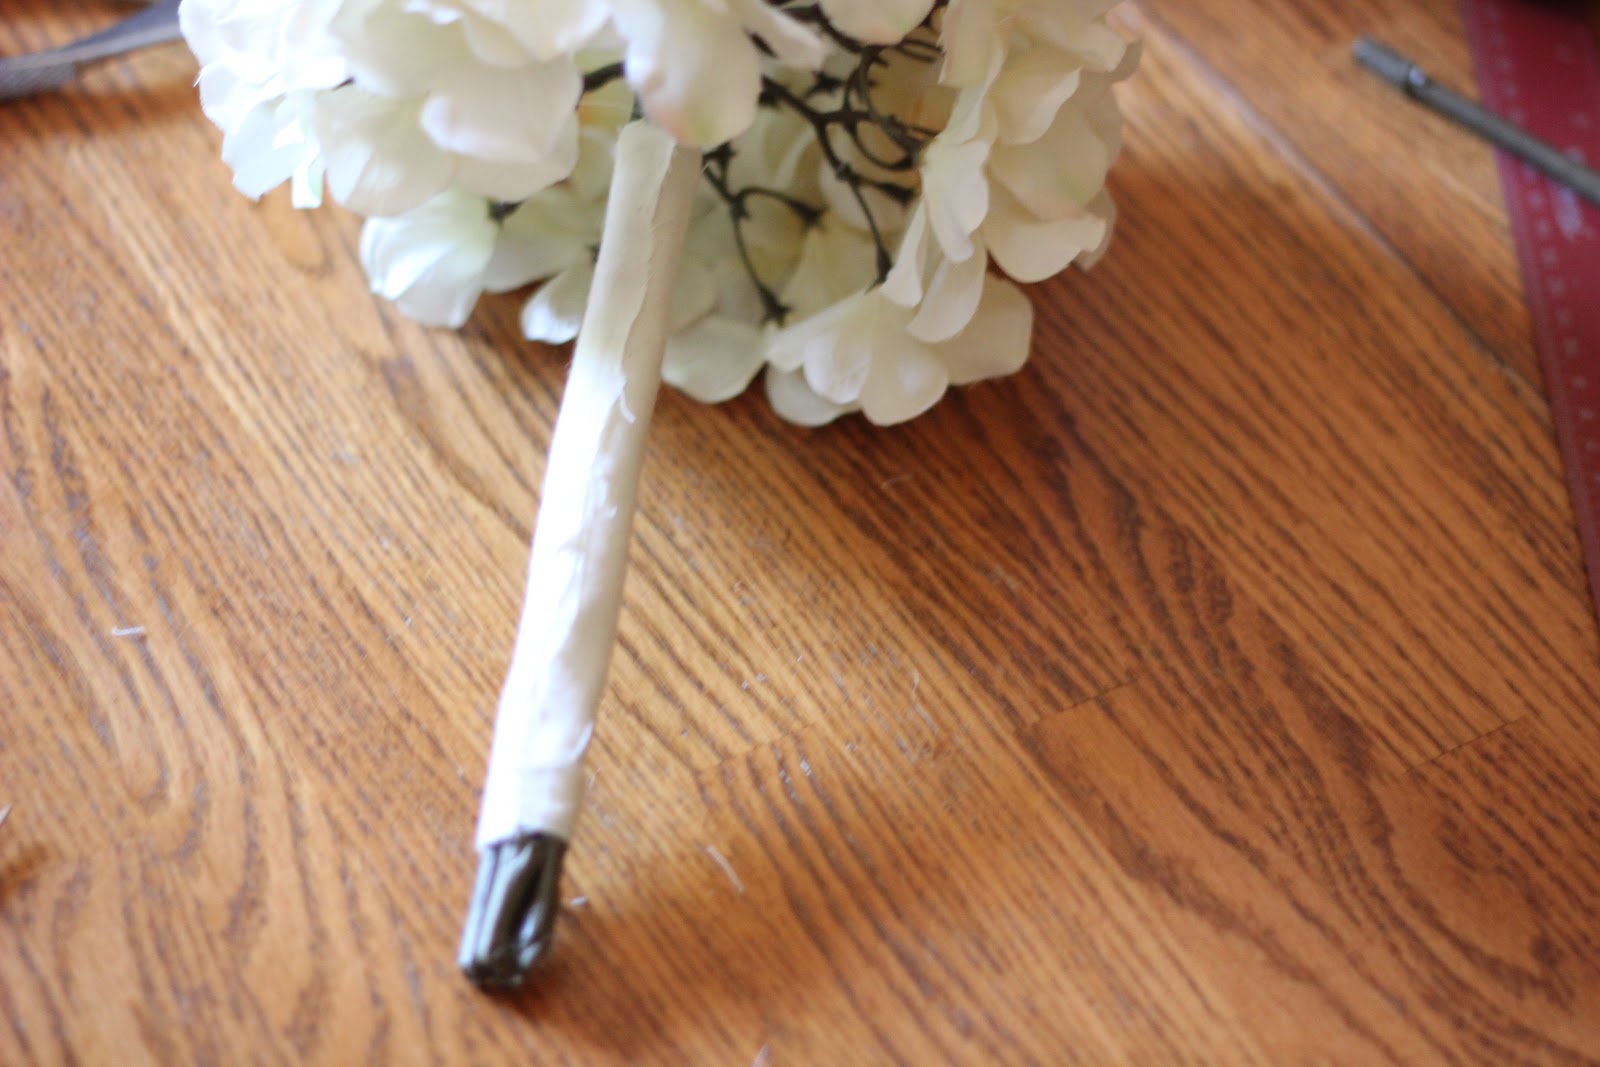
After that, I wrapped the stem in burlap. Burlap is somewhat see-through, so the muslin helped. Secure with hot glue. (I love hot glue.)


At this point, the possibilities are pretty much endless. You can wrap with twine (like I did), and secure with buttons. Add ribbon, charms, whatever suits your fancy. :)

Finished! I have two down, three to go. Whew!
Thanks for stopping by today!
Elated to know about this DIY flower bouquet. Few months ago, I arranged a dinner party with my friends at one of local venues and decorated venue with fresh and beautiful flowers which I have ordered through Flower Delivery New York services. Enjoyed this event a lot.
ReplyDelete